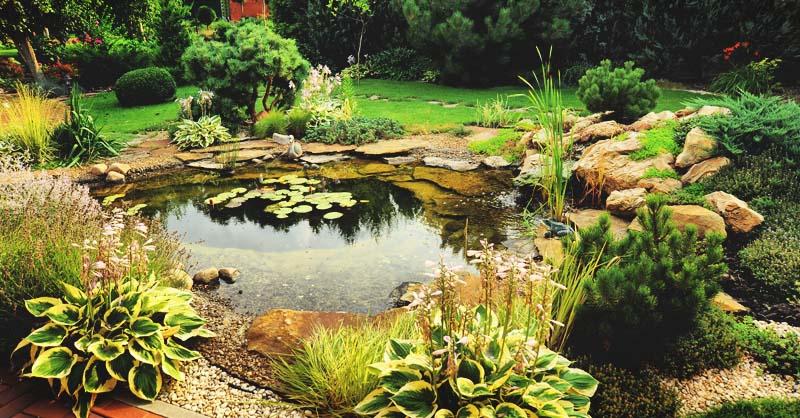
Just in case you have you been toying with the idea of adding a water feature to your outdoor space for a more Zen feel? Building a pond for your garden doesn’t have to be so complicated, and it doesn’t have to cost an arm and a leg, just planning. It can be done in just a weekend without the help of a professional! I will give you all the steps to building your own pond, and some tips on easy maintenance.
DIY Pond Tutorial
Step one – First map out the area with the size and shape that you want your pond to be. If your pond is in an open unfenced area, make sure to check what the local code is. Some cities will limit the depth of ponds is it’s unfenced, that would typically be with a minimum of 12” deep.
Choose whether you want just a large decorative pond, or a complete pond and water garden with fish and live plants. You must keep in mind that a water garden will need to be deeper and will require more maintenance.
Step two – Now mark the outline of your new pond with either paint or chalk, and now it’s time to get to work! Whatever you have chosen for your pond depth, excavate your pond to the desired depth. If you keep the sides as vertical as you possibly can, it will make it easier to hide the liner.
Lay out some thick material along the bottom of the pond to cushion the liner against anything that is likely to punch holes like rocks or sticks. Some low budget ideas are sand, newspaper, or even old carpet works best.
Step three – Now purchase pond liner from your local hardware store or even online. Measure the pond depth of your pond x 2, add to the length of your pond plus 2 feet – and this is the length of your liner. Now for the width of your liner – Your pond depth x 2 and add the width plus 2 feet. The extra two feet is to allow for fitting, and simple easy cut away the extra.
Next lay your liner over the pond fitting it into the bottom. Now the fun part, fill the pond halfway with water and allow it to sit for several hours to settle the soil. Trim your liner to hang three to five inches over the edge of the pond. This step is very important! Don’t trim too much, you can always go back and trim more if you need to, and you can hide the extra with rocks or stone. If you are going to add a pond pump, go ahead and place it in your pond now.Step four – Now is the time to hide the edges of the pond liner. You can use flagstone, rocks, slate, any hardscape will do. Lay it over the edge of your pond in an ununiform natural way to hide excess liner. Plug in your water pump and set it to the desired height for a waterfall or a decorative floating fountain. You can use bricks or rocks as a platform to raise up your pump if necessary. If you don’t have a GFI outlet to plug into, you can use a solar powered pump
Step five – Now for the fun finishing touches! You can add plants and decorative accessories for an inviting place for you and your visitors with nearby seating so you can relax and admire all your hard work. A decorative birdfeeder will ensure plenty of feather friends will come and enjoy your pond oasis.
Easy Pond Maintenance
There are many products available online to control algae. Even a small amount of bleach will help you keep the water clean, but you must be careful to use a very small amount. But avoid using this method if you have fish or if wildlife frequents your pond. Beneficial bacterial treatments are the best eco-friendly and effective way to keep algae under control, and of course, it won’t harm your fish or underwater plants.
Adding a beautiful backyard pond can be fast, easy and a showstopper that will add value to your garden and home with a bit of hard work and a cost that can fit any budget. In addition, you can add a beautiful floating water sprays to your new garden pond.


